
How to Use Close Integration for monday.com
Installation Instructions
To install the Close Integration app, follow these steps:
- Follow the installation link or search for the app in the marketplace.
- Install the app.

Prerequisites
- A valid monday.com account.
- Basic understanding of how to navigate and use monday.com.
- A valid Close account.
Please ensure you meet these prerequisites before proceeding with the installation of the Close Integration app.
First Time Use Instructions
To get started with the Close Integration app, follow these steps:
- Install the app from the monday.com Marketplace, or click the Add to monday button above.
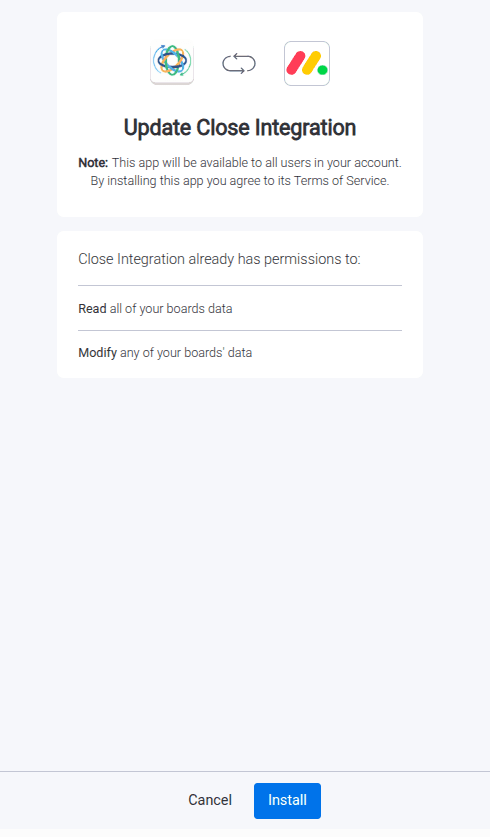
- After installing the app, you will be redirected to the Admin UI, where you can configure it and connect your Close account. First, authorize monday.com. Click the Authorize monday button to open the monday.com authorization pop-up. After you authorize monday.com, you will be redirected back to the Admin UI.
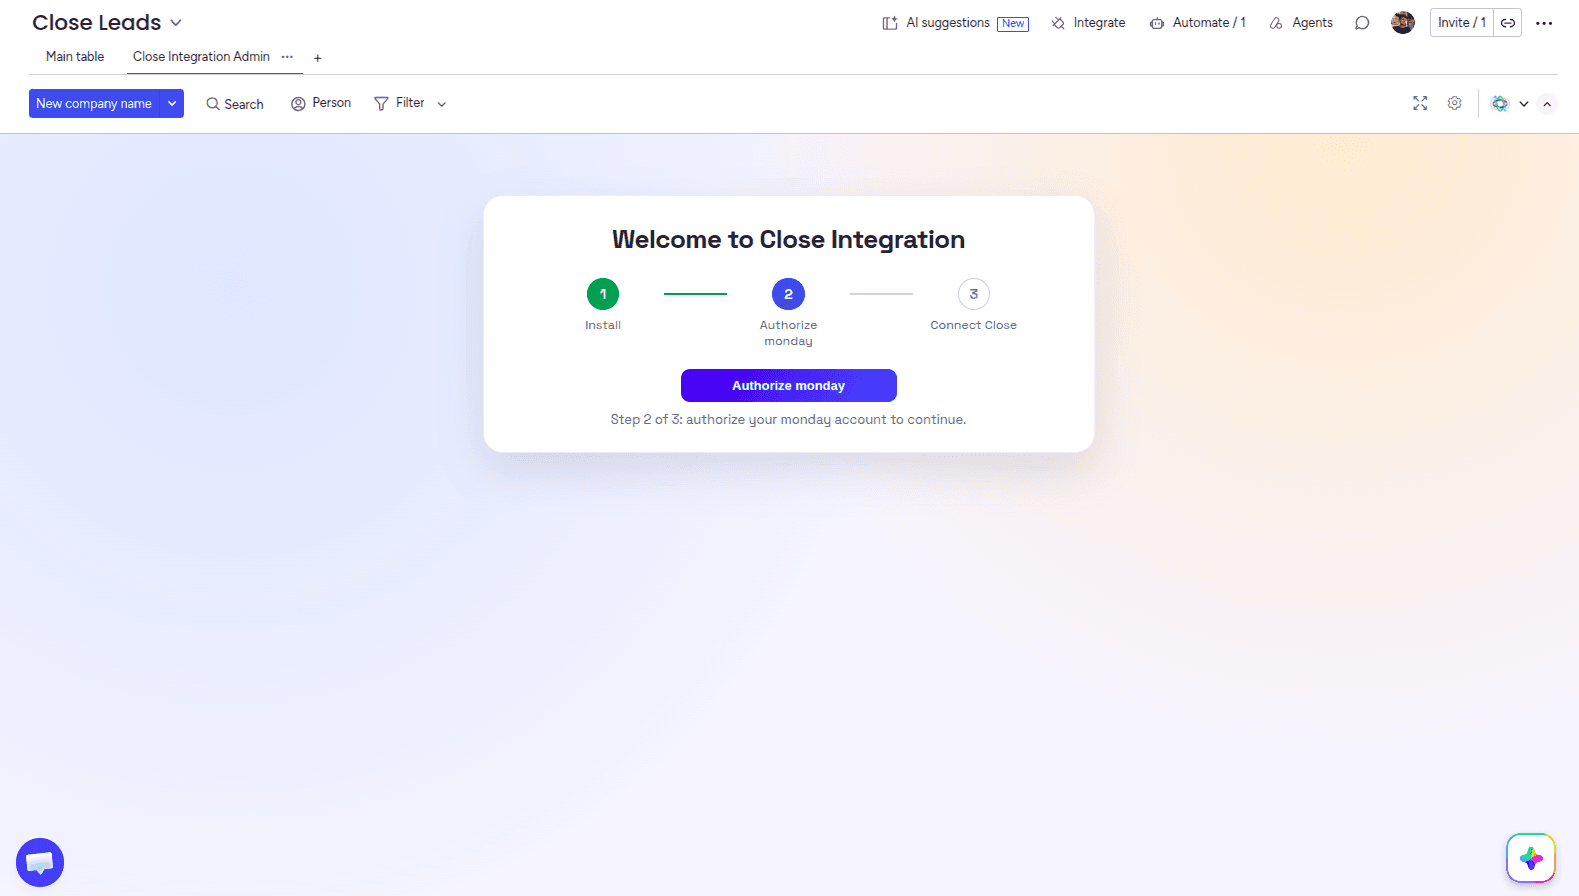
- In the monday.com authorization pop-up, click the Authorize button.
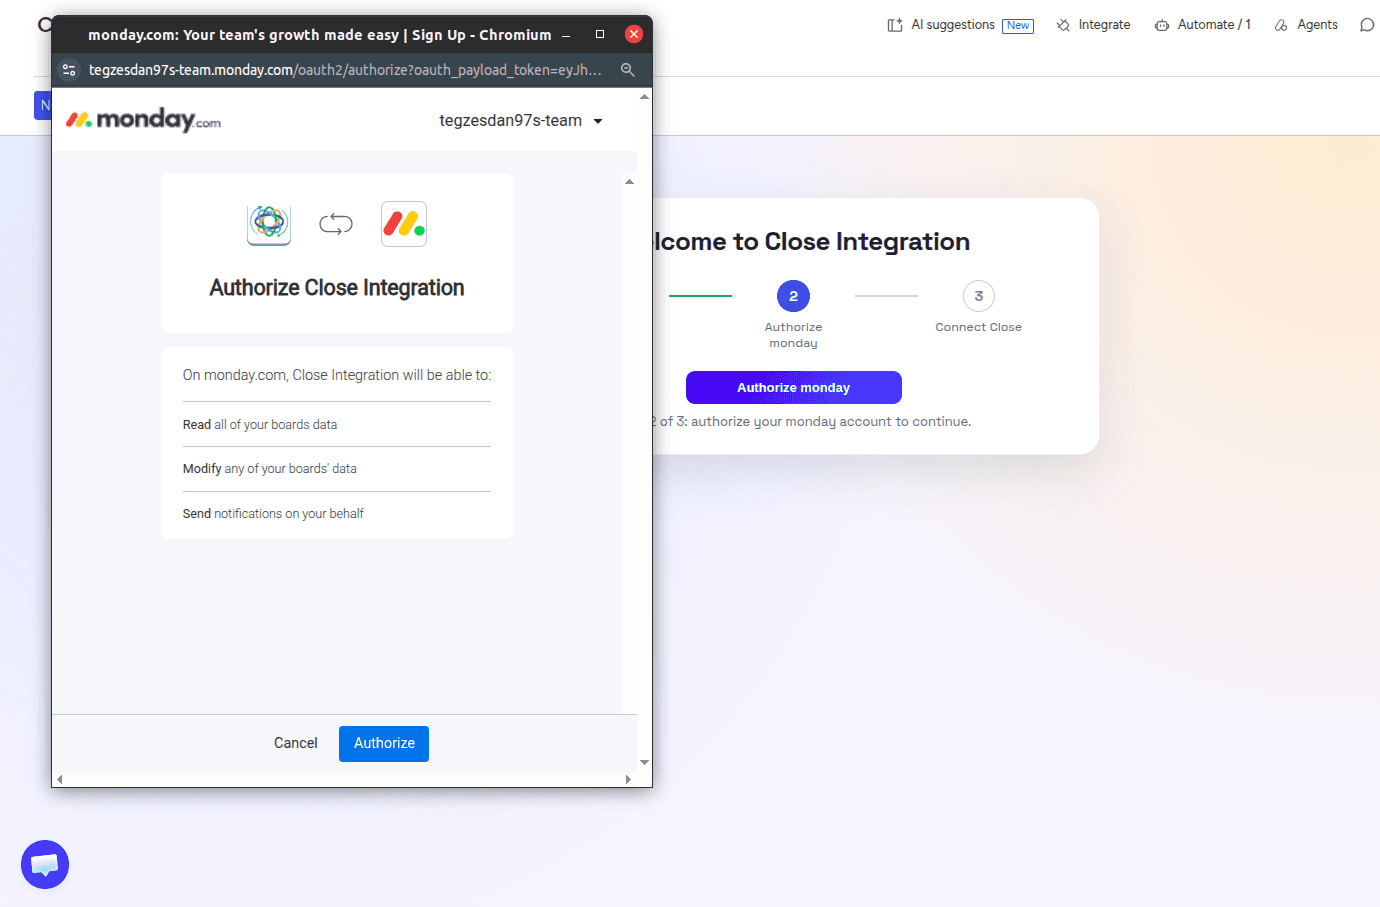
- Next, authorize Close. Click the Connect Close button to open the Close authorization page. After you authorize Close, you will be redirected back to the Admin UI.
- You should now see the Admin page, where you can find Connections, Plan Usage, Automation Operations History, and the Support section in the bottom-left corner. You can also disconnect your Close and monday.com accounts by clicking the Disconnect Connection button.
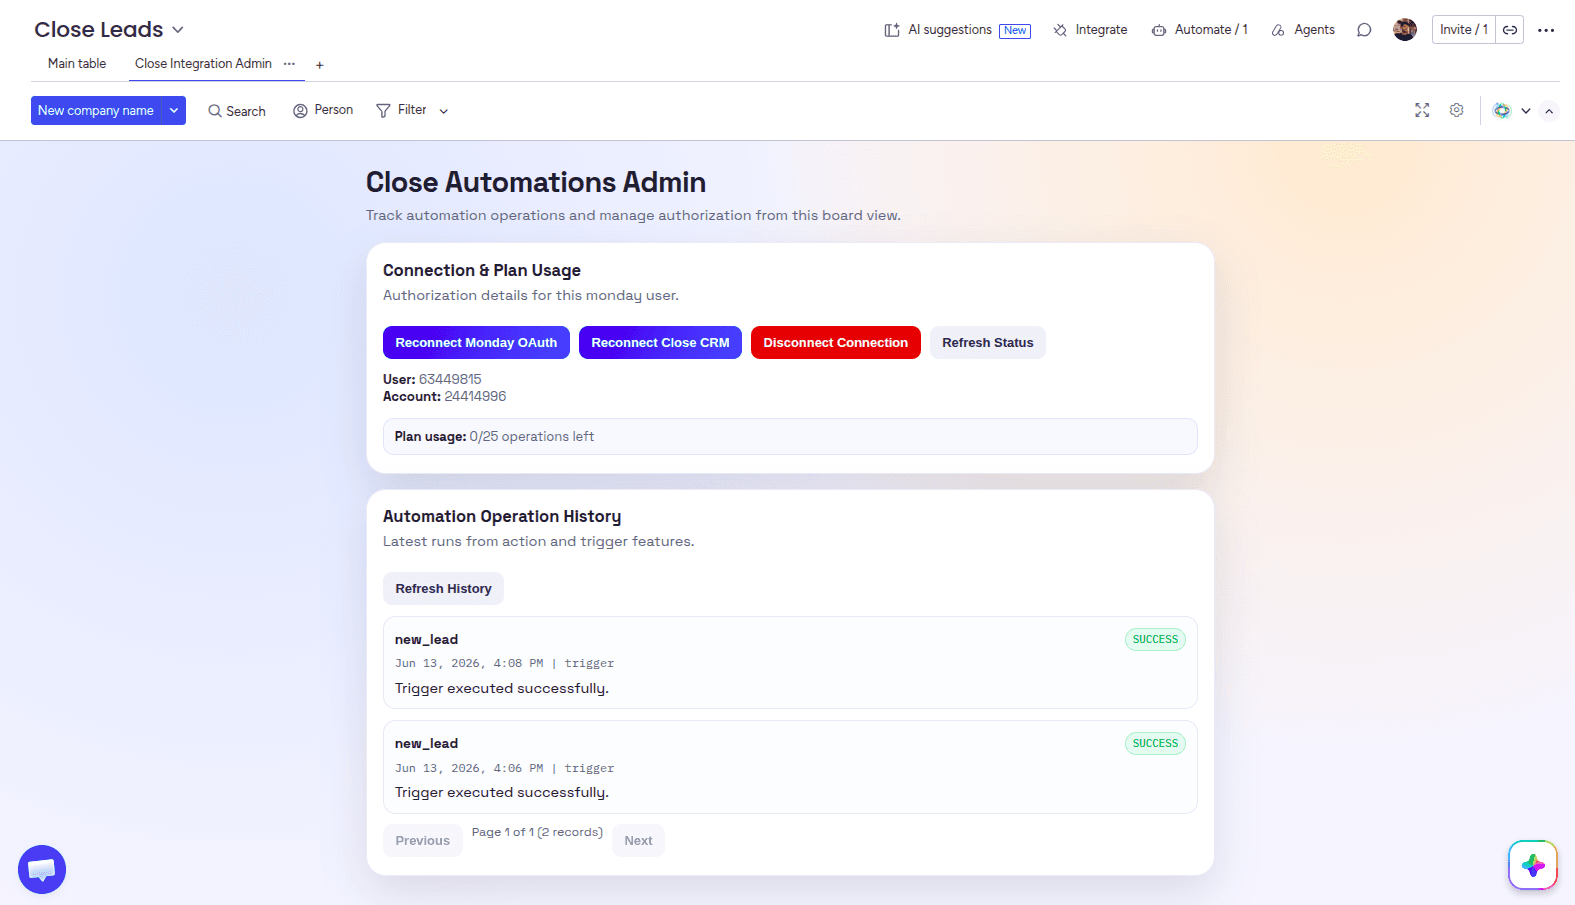
- Now let's build an automation. You can do this either in a workflow or in a board's Automations section. The steps are similar in both cases, but first we'll show the workflow method.
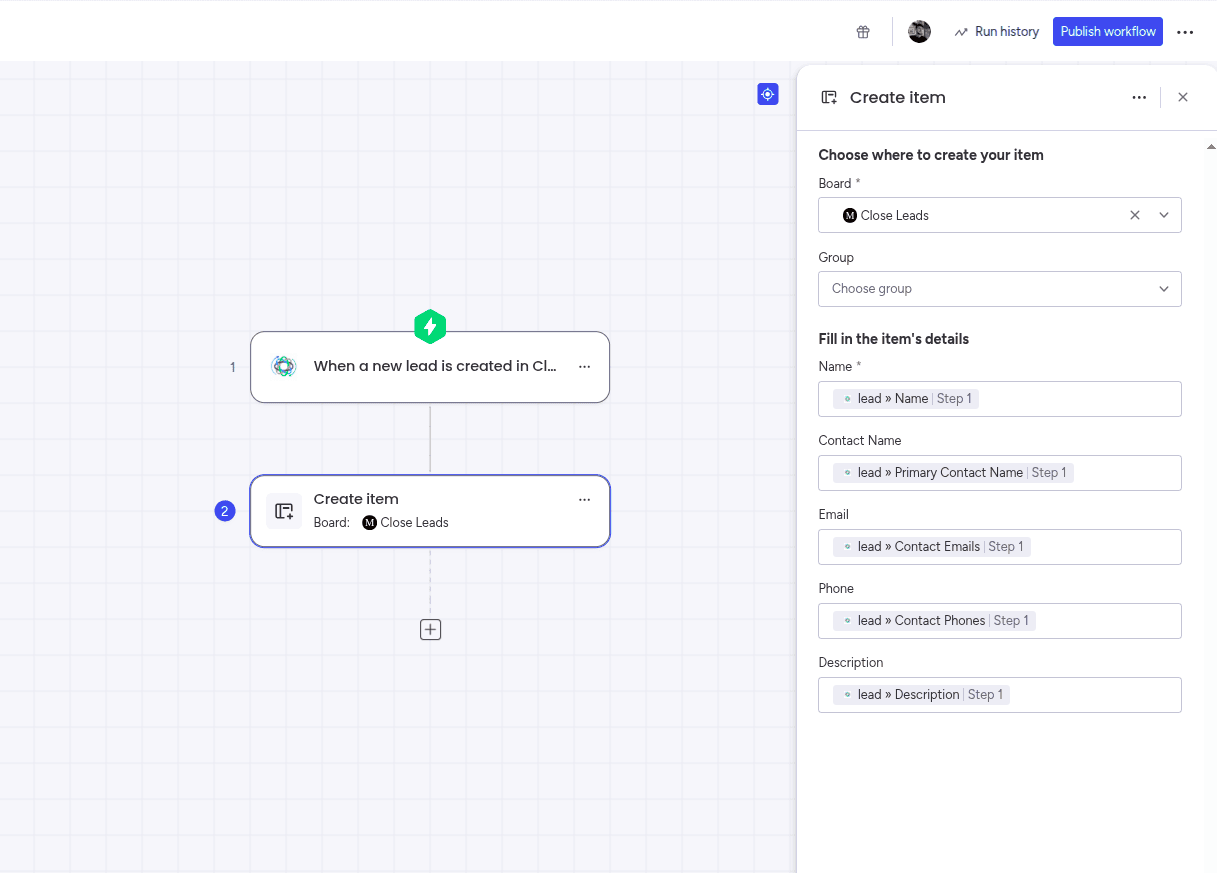
Start a new workflow and add a Close trigger. You can find the trigger by searching for it in the Triggers section. No additional configuration is required for this trigger.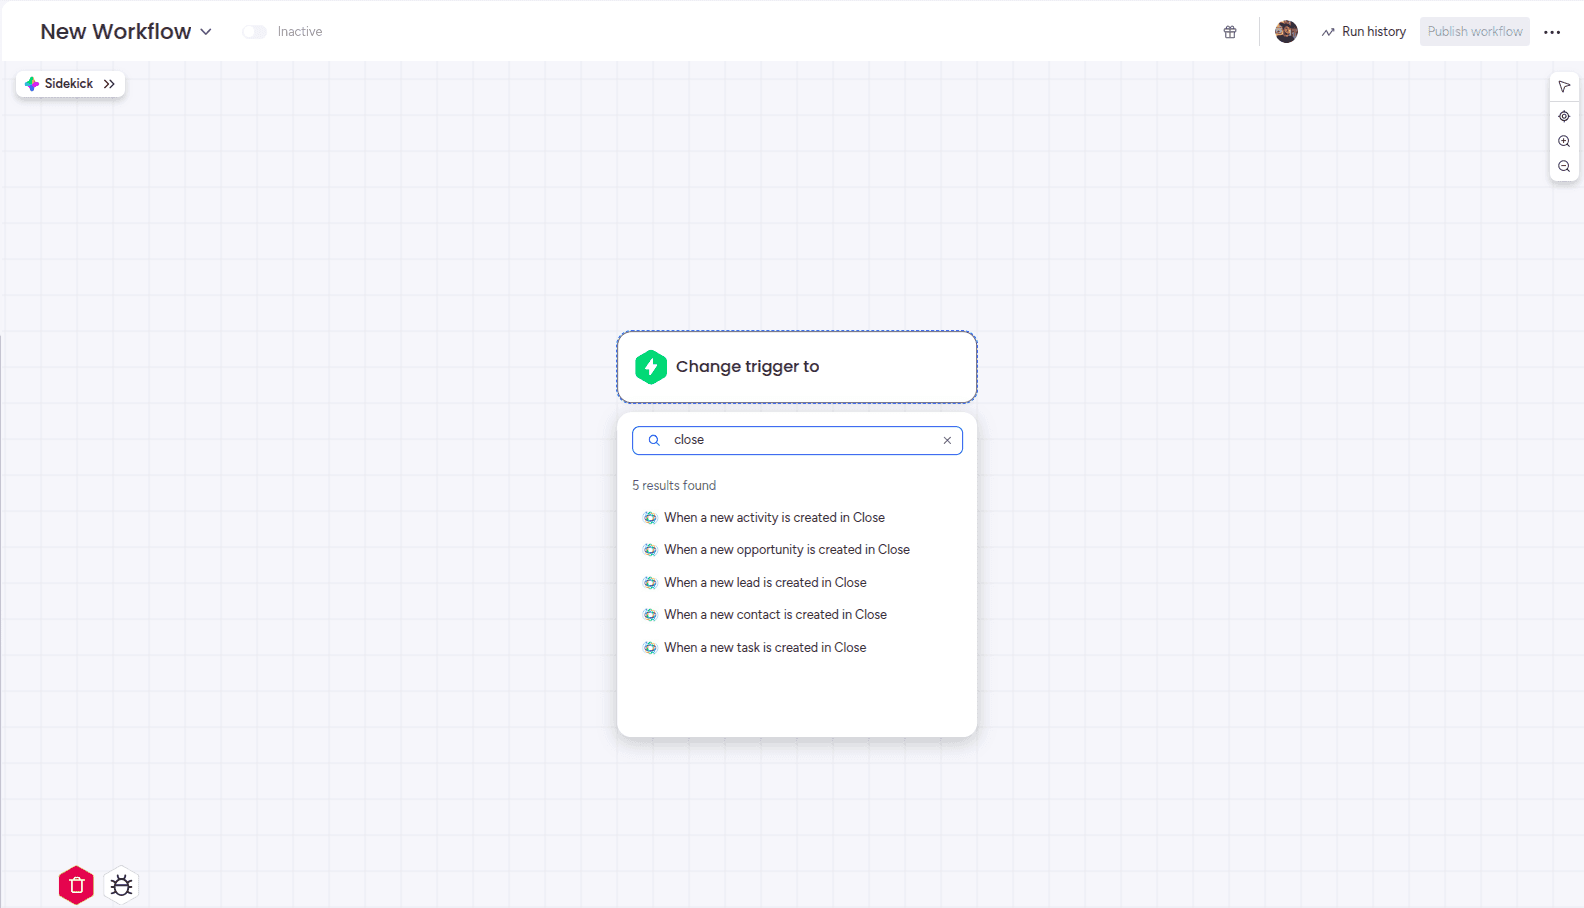
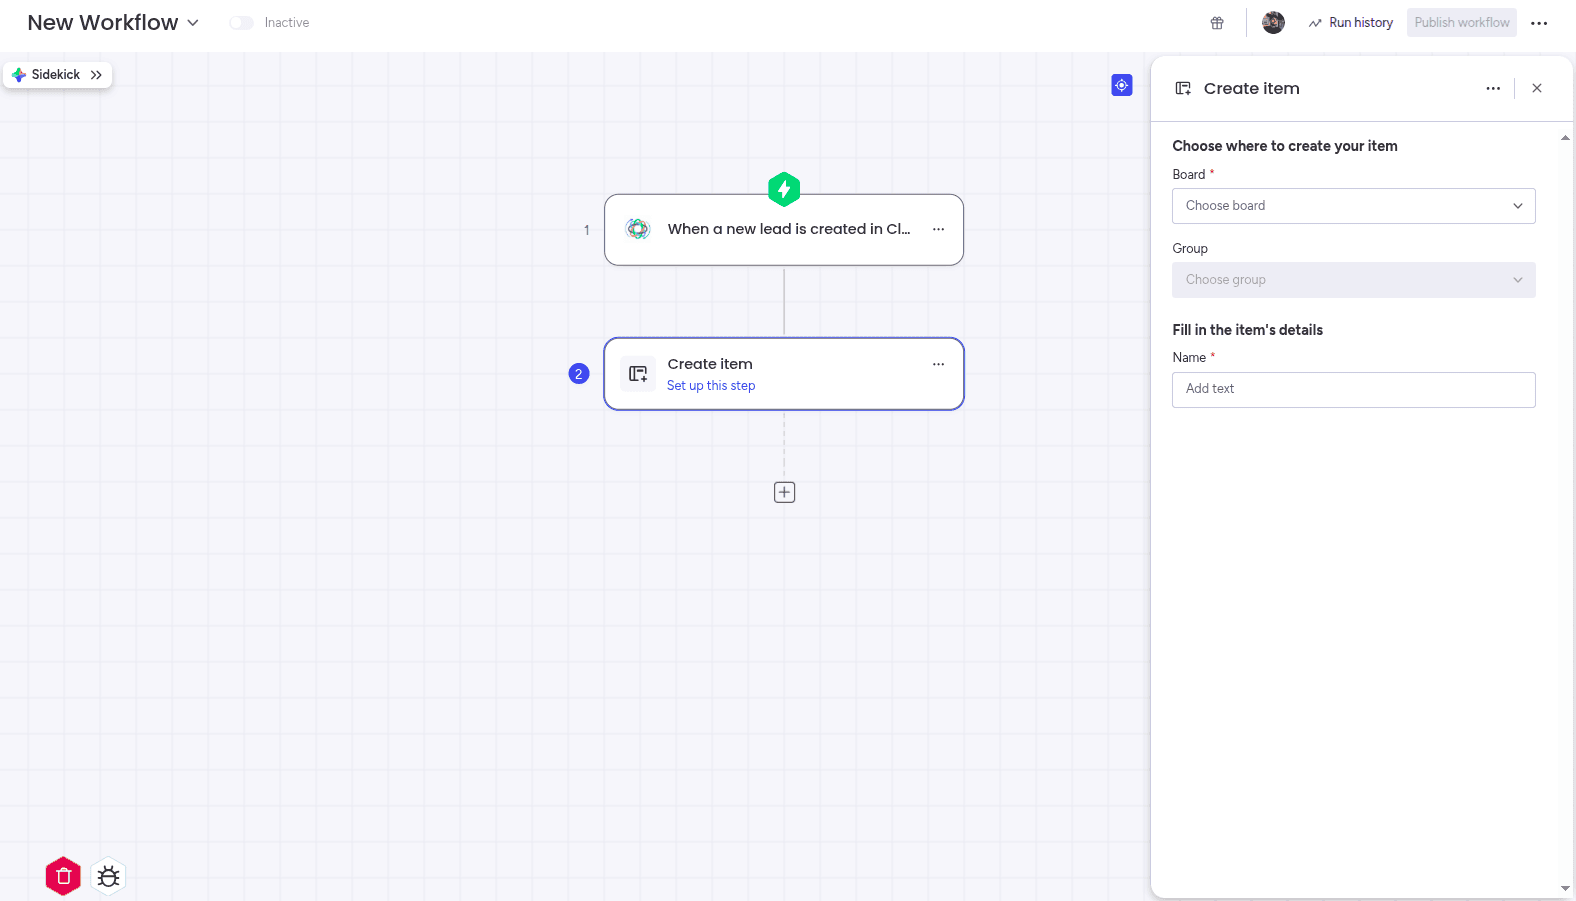
- After adding the trigger, you can add the action to your workflow. You can find the action by searching for it in the Actions section (for example, "Create item"). Once you add the action, choose a board and map the Close fields from the trigger.
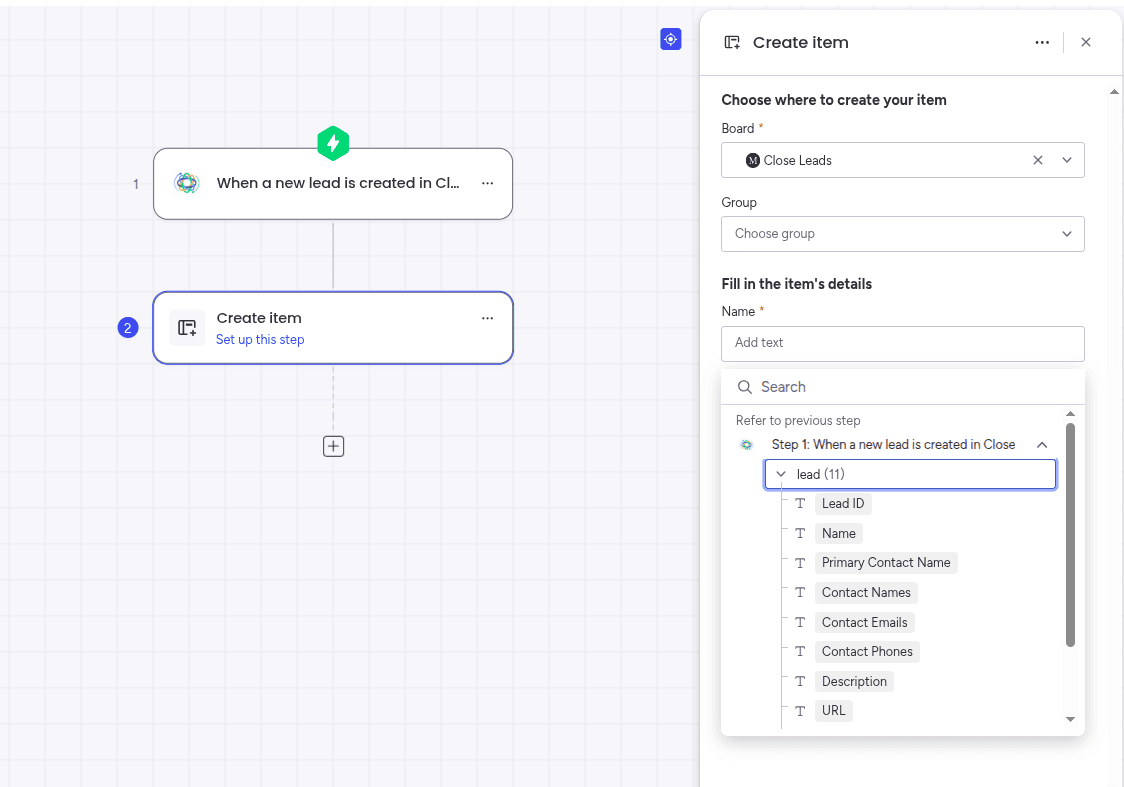
- After choosing the board, map its columns to Close-specific fields. The values from these fields will be used when creating your items. After you finish configuring the workflow, click "Publish workflow" to activate it.
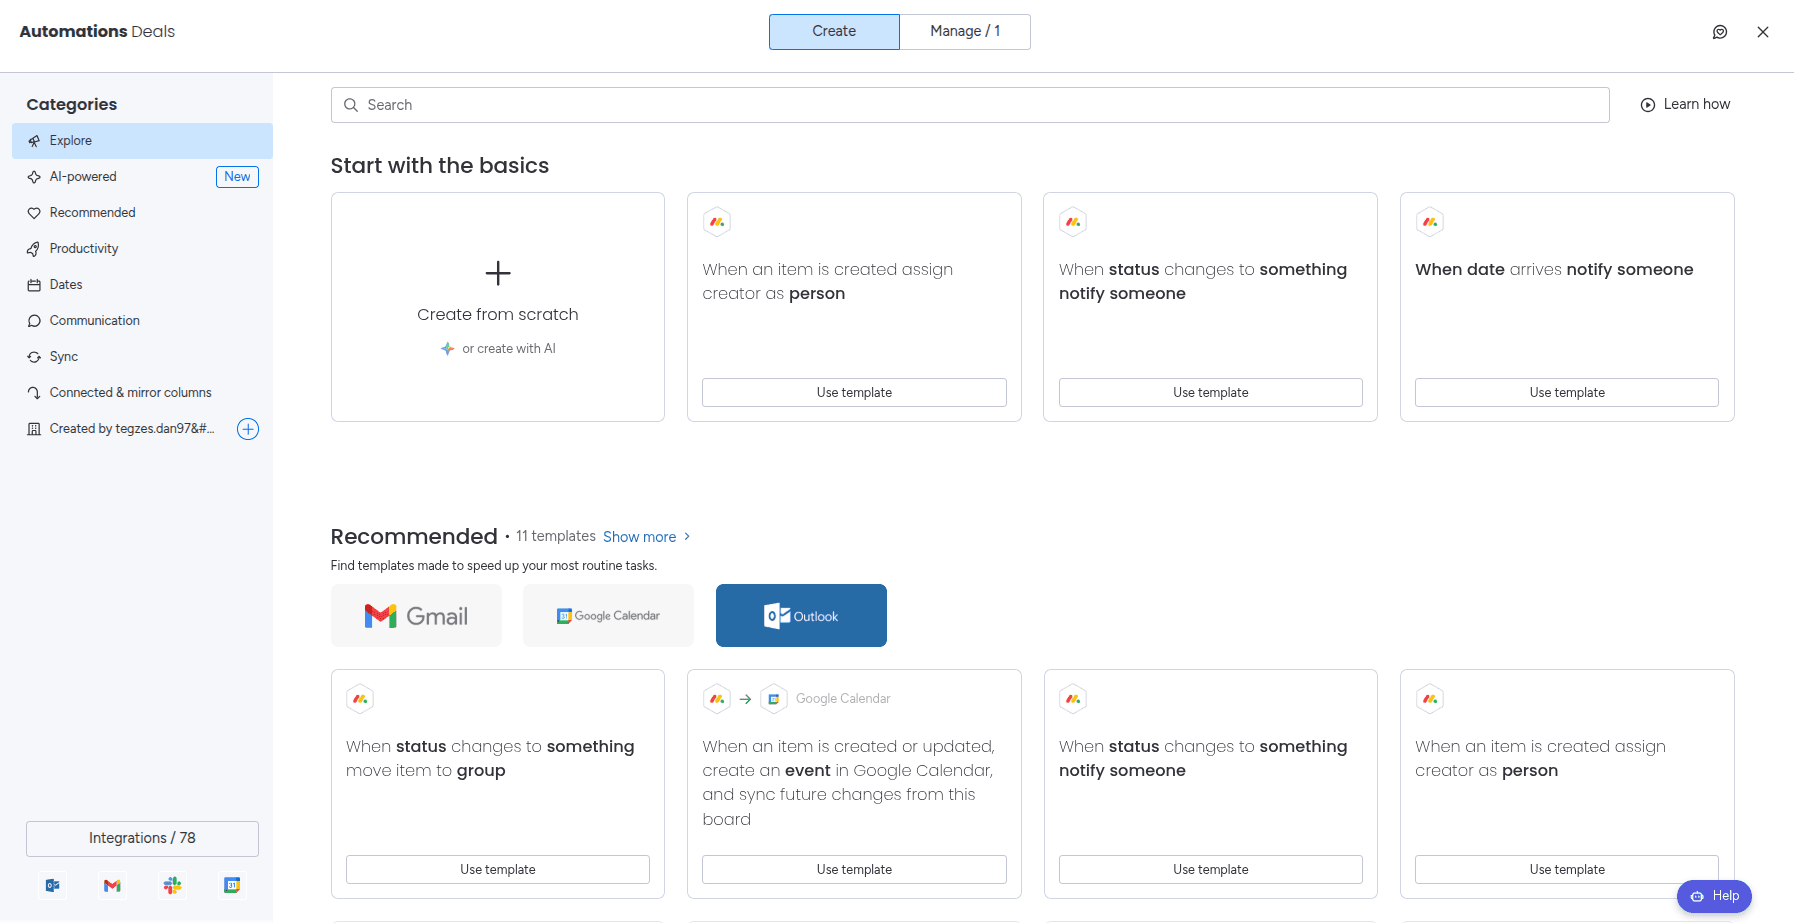
- Now let's build an automation from the Automations section. Navigate to the "Automate" section on a board and choose to create a new automation from scratch. Next, choose the Close Integration trigger and action to add them to your automation.
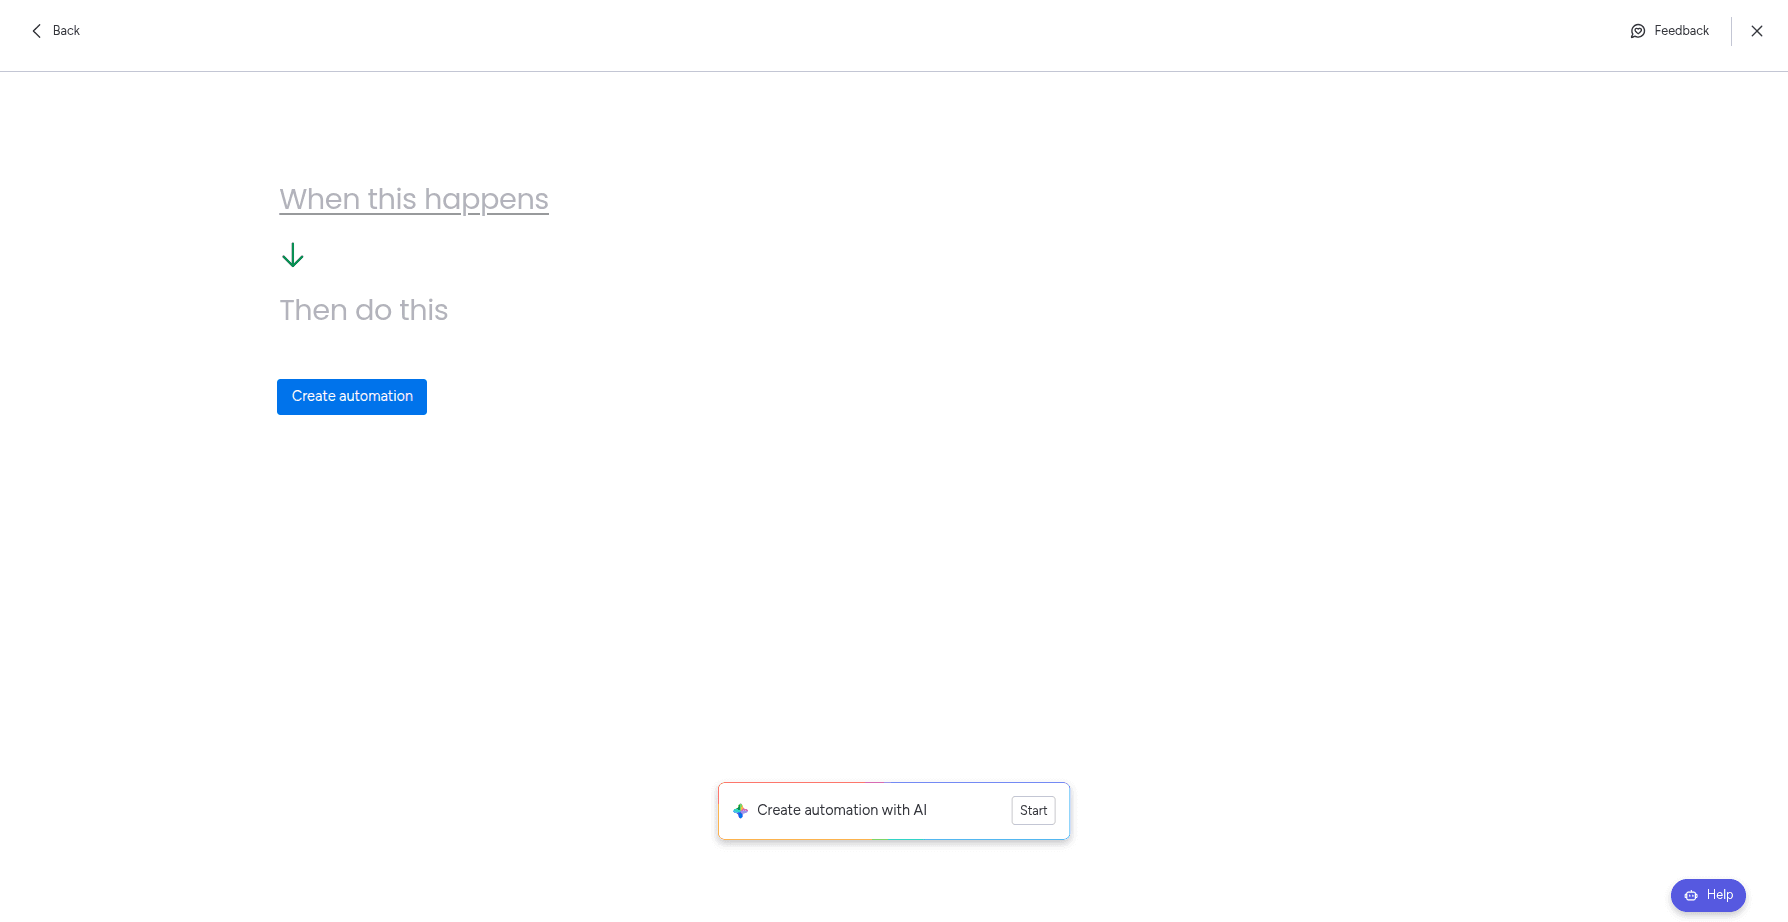
Now add the Close trigger and action to your automation. Then configure the action by choosing the board where you want to create items and mapping the fields to values from the trigger. After you finish configuring the automation, click "Create automation". 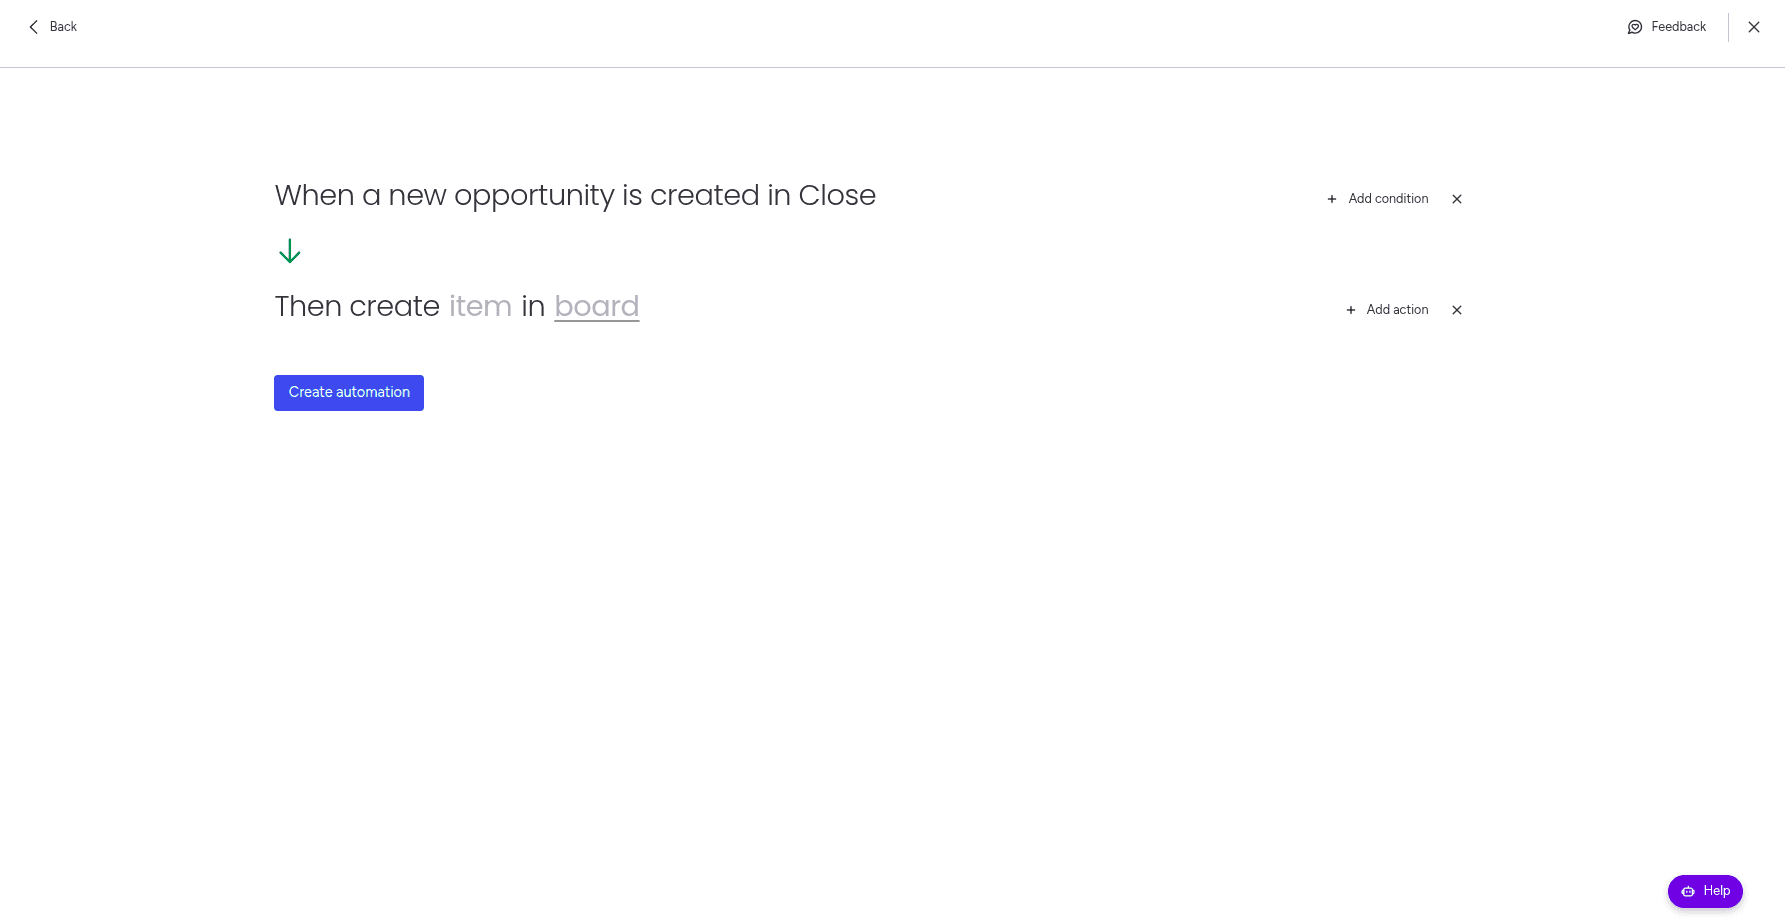
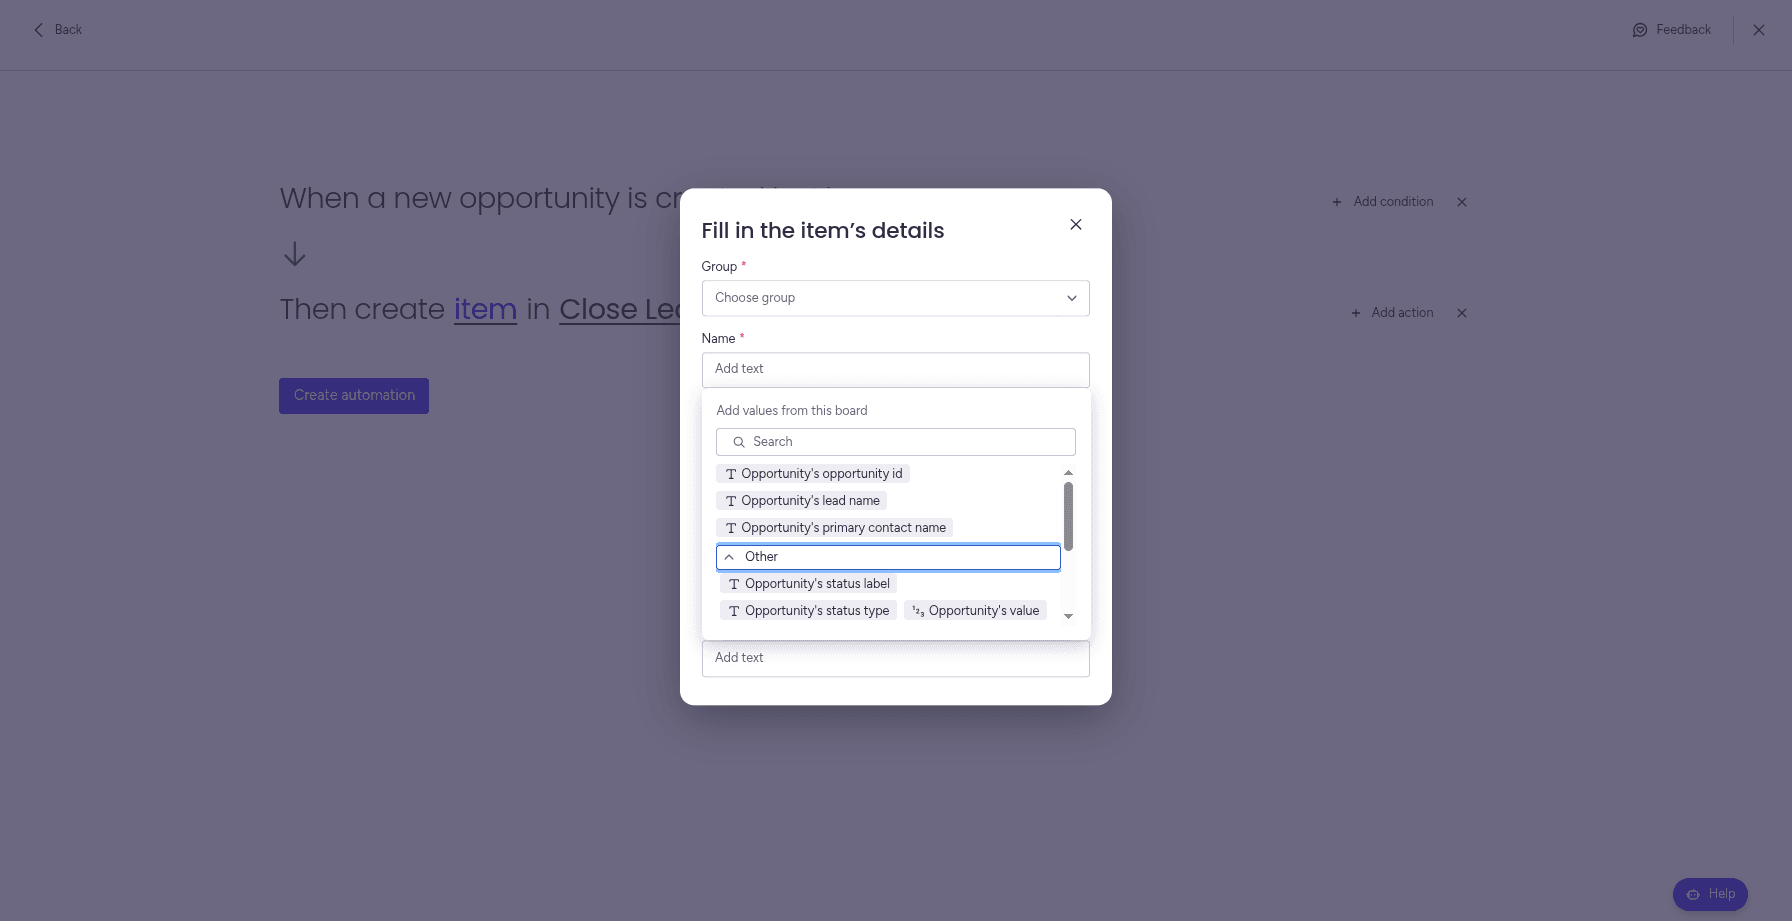
In this example, we will use the trigger "When a new opportunity is created in Close" and the action "Create an item".
This trigger will run every time a new opportunity is created in Close, and the action will create an item in the chosen board for each new opportunity.
Support Media
Here are some helpful resources to get you started with the Close Integration app: